
5 Steps to Start Your Campus Cross Stitch Pattern
Are you ready to start stitching your favorite university campus? Follow these 5 simple steps to get started!
-
Download and Print the Pattern: Begin by downloading the campus cross stitch pattern here. Once downloaded, print out the pattern on standard printer paper. Ensure that your printer settings are set to print the pattern at its original size for accurate stitching.

-
Cut and Arrange the Pattern Pages: Carefully cut out each page of the pattern along the edges. You'll notice that each page has a blue overlay to help you properly align and overlap the pattern pages. Arrange the pages according to the provided guide, ensuring that the design lines up seamlessly.

-
Tape the Pattern Together: Once the pages are arranged correctly, use transparent tape to secure them together along the edges. Make sure the pages are firmly attached to prevent any shifting or misalignment while stitching.
-
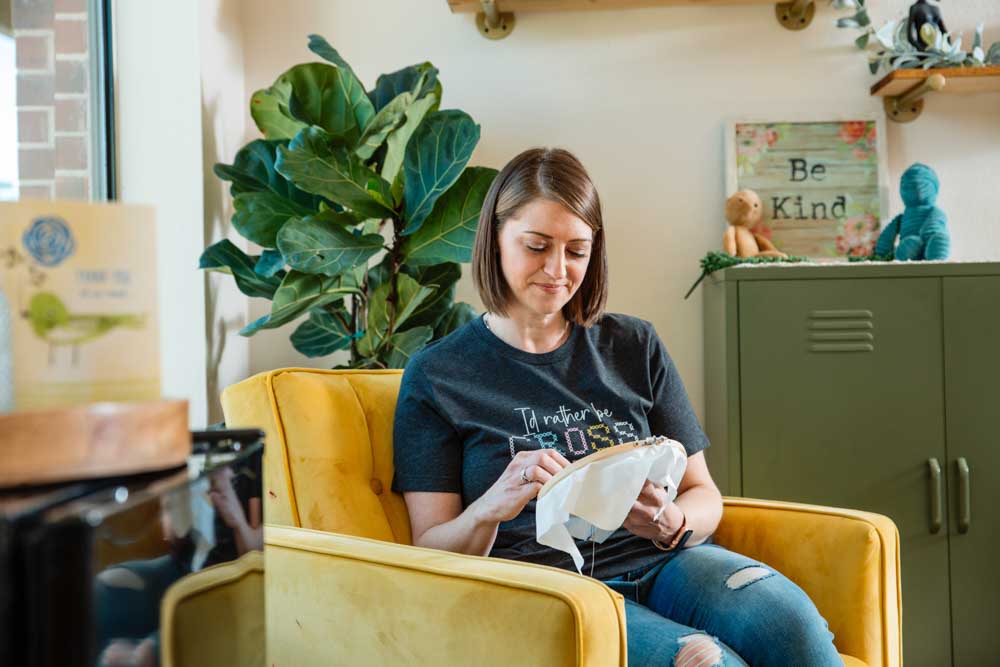
Prepare Your Fabric and Hoop: Turn your Aida fabric horizontally and place it inside your bamboo embroidery hoop. Tighten the hoop to secure the fabric in place, ensuring it's taut and wrinkle-free. The hoop will provide stability and tension for smooth stitching.
-
Begin Stitching: Now that your pattern is prepared and your fabric is set up, it's time to start stitching! Thread your needle with the first thread color of your choice and knot the end. Start your first stitch about an inch away from the left border of the fabric, following the pattern's design and color scheme.

With these 5 steps, you're all set to bring your campus to life! Enjoy the therapeutic and creative process of stitching as you recreate the iconic landmarks and memories of your alma mater.
#sewhappy
-Jamie
